Step 1
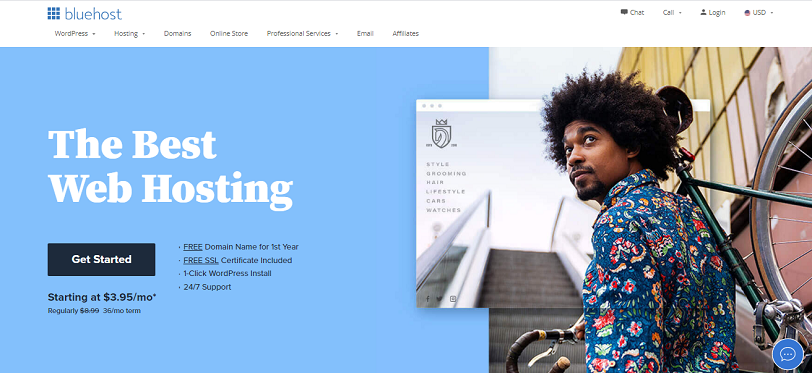
Go to Bluehost website.
You can click on the link above and go to Bluehost homepage. Setting it all up might seem overwhelming, but once you look at the screenshots below, you’ll see that Bluehost isn’t

Step 2
Go to Hosting -> Shared Hosting
Select which plan as per your requirement.You are planning to host only one website then select the BASIC Plan. You Plan to host multiple website then select PLUS or PRO Plan.
Better to choose 36 Months plan as you do not have to worry about renewal for hosting for 3 years and you can concentrate on business promotion. Also You save a lot with 3 year/36 months plan

Step 3
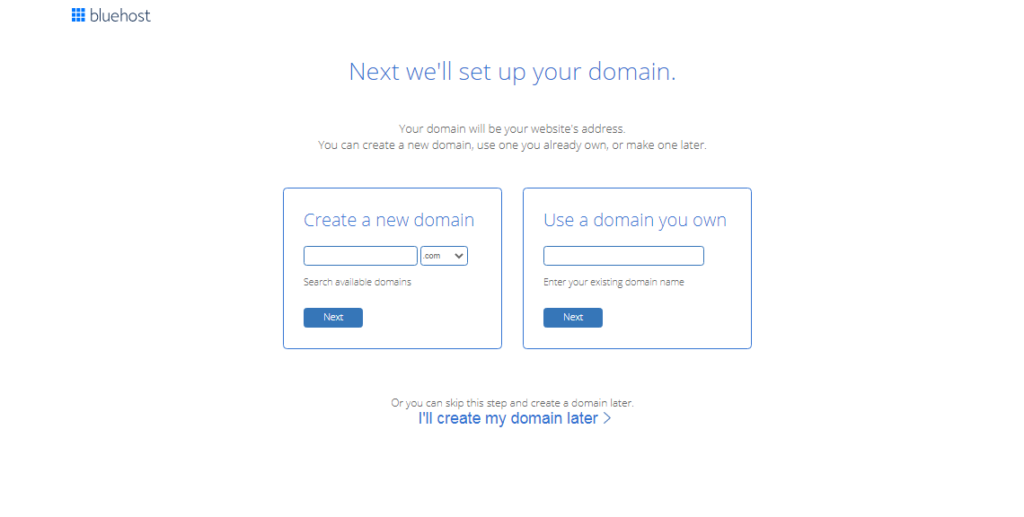
Register your domain, or buy a new domain. A domain is the URL of your blog. Think about it for a while, because you can’t change it later. All Bluehost plans include a free domain, so there’s no need to buy it elsewhere.

Step 4
Now, enter your contact information and extra you’d like to purchase.

Step 5
Now, you can make the payment for the hosting plan.

